
With the quality of mobile phone cameras being so good, the opportunity to capture the best biking moments is so much easier.
If you are taking a picture of a stationary bike, then you may wish to consider the following –
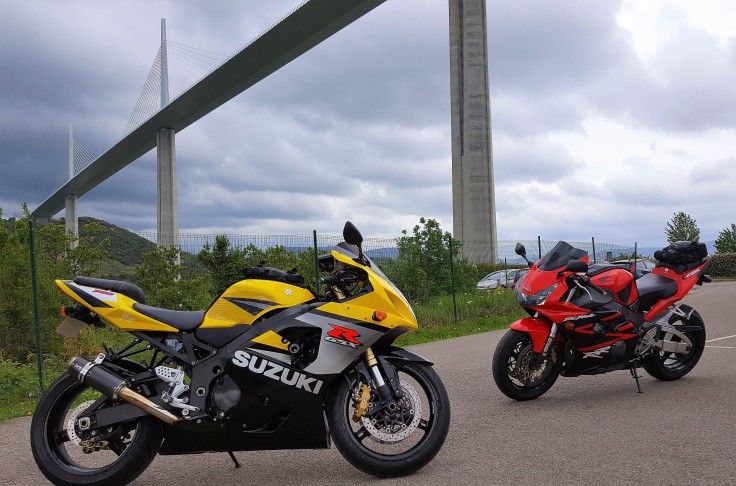
- Get up close and personal to the bike
- Consider taking shots of specific details of your bike
- Choose your background, be it a seafront, a race track or some edgy graffiti
- Think about the lighting and the contrast
- Shoot from height rather than eye level

This blog, however, is more about capturing the movement of the bike and the rider.
In my opinion, there is no better place to see this than at a race meeting. But, being able to capture the best image at high speed can be tricky.
Hopefully, you may find these tips useful and help you capture a knee down at Brands Hatch Druids, a takeoff at Cadwell’s mountai or your vantage point at a road race like the Isle of Man TT or the North West 200.
Get the settings right
Without good base settings we are setting ourselves up to fail. Be familiar with the controls of your camera and don’t be afraid to test them (or read the instruction manual).
Shutter Priority Auto
By choosing this setting we can choose fast shutter speeds to freeze action or slow shutter speeds to suggest motion by blurring moving objects. This setting is ideal to keep it simple and get a great shot with adjusting other settings.
Aperture Priority Auto
By using the aperture setting we use aperture to soften background details or increase the depth of field to bring both main subject & background into focus. I would normally use this setting when photography stationary objects rather than moving.
Manual control of the settings
If you are confident enough, then put the camera into manual mode and adjust the settings to suit your needs.
- Shutter speeds need to be at 1/500 frames per second (fps) or even 1/1000 fps for a high speed shot
- As we are making the shutter speed faster, we need more light into the camera. Therefore the lowest aperture number possible, known a F stop.
- We can also adjust the ISO but be mindful, the higher the ISO, the grainier or noisier, the picture will be.
Even if you under exposed image it is always better than over exposed. We can always adjust and tinker with the digital image once it is downloaded onto your PC or laptop.
Location
Choose the correct location. Don’t make life hard by shooting side on to the action. This only leaves a split second to capture the shot.
Ideally we are looking to ambush the rider and motorbike. By choosing an angle of about 45 degrees, it will give us the chance to getting the money shot.

Panning
By moving our body through an arc, slowly and steadily, we will be panning with the motorbike and the rider. This gives the sensation of speed to the picture, whereby the background will be blurred. In addition, panning allows us to slow the shutter speed to around 1/250 fps, allowing more light into the camera with a lower aperture number.

Just remember whatever you do, just have fun.

